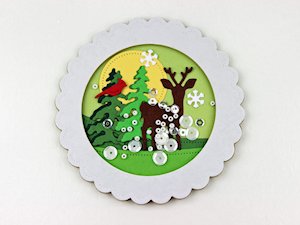
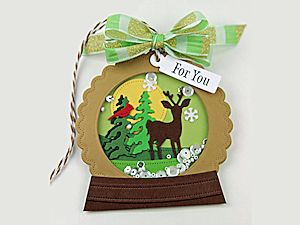
Die Cut Shaker
by Jeanne Jachna
Use dies to create a scenic shaker frame.
Supplies
- Cardstock
- Adhesive craft foam sheet (colored adhesive-backed craft foam used here)
- Strong glue (Ranger Multi Medium Matte used here)
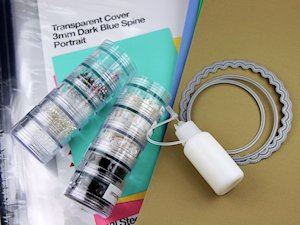
- Transparency sheet (Unibind Thermal Steel Crystal Soft Cover Report Covers used here)
- Dies for the frame, scene and optional base (used here: Top Dog Dies Polar Bear Die Set, Mini Tags Die Set, Onesie Dress Die, Penguin Die Set, Pocket Page Winter Die Set; Memory Box Studio Circle Layers)
- Filler for the shaker (glitter, beads, sequins, small die cuts or punches, etc.)
- Die cutting machine
- Other supplies as needed to complete the card (used here: Pretty Pink Posh sequins and mini beads, Twinery Twine, May Arts ribbon, Waltzingmouse Stamps Nutcracker Sweet stamp set)
Step-by-Step
-
Step 1
Choose three dies that fit inside each other. They can be any size or shape. Punches could also be used.
For the sample, a scallop circle and two smaller circles were used. (The scallop is 3 3/8", the circles are 2 3/8"and 2 3/4".)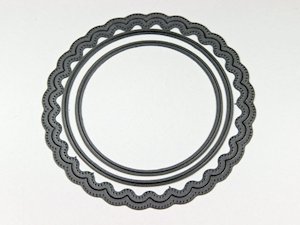
-
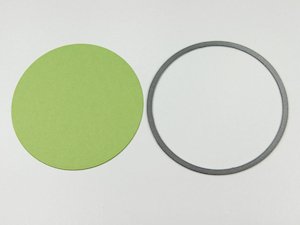
Step 2
Cut the largest shape from cardstock - this will be the back of the shaker.

-
Step 3
Create a frame by placing your smallest nesting shape inside the largest shape on your die cutting plate. Secure the dies before cutting, as two identical cuts need to be made.
TIP:
A magnetic plate will hold the dies in place so they don’t need to be secured with tape.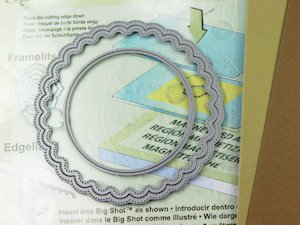
-
Cut a frame from cardstock for your shaker front, and cut the same size frame from an adhesive foam sheet to create the shaker element.
Die cut the middle-sized shape from clear acetate – this will be the shaker window.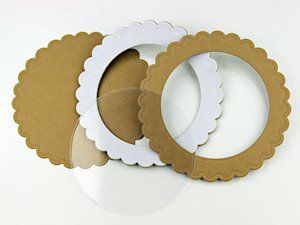
-
Step 4
To create a scene for the inside of the shaker, cut the middle-sized shape from colored cardstock.
-
To make a landscape cut a border in two different shades of cardstock. Tape the two layers together and die cut with the large circle. Adhere together, and add this layer to the card base cut in step 2.
TIP:
Place the die over the pattern so you can see how it will appear in the window. When you are satisfied, tape the circle in place and die cut. For a finished look be sure to have the right side of the die cut face down.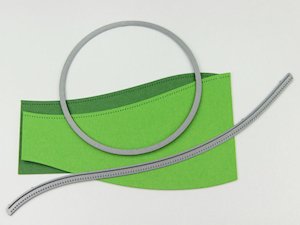
-
Step 5
Adhere the inner foam frame to the base with adhesive paper faced up, using strong adhesive. Place an acrylic block or other weight over the piece and allow time for it to dry completely.
NOTE:
A liquid adhesive allows extra time for placement of the foam layer.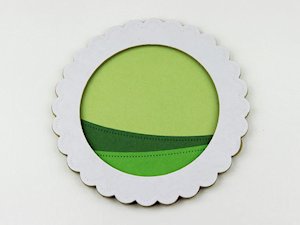
-
Step 6
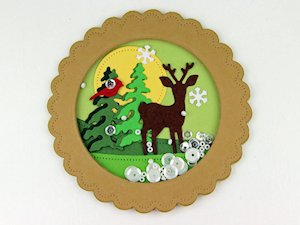
Die cut other images and finish the scene inside the frame.
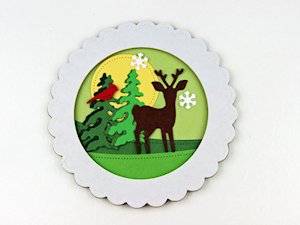
-
Step 7
Add filler for your shaker inside the frame.
-
Step 8
Remove paper to expose foam adhesive. Place acetate transparency over open window to secure sprinkles inside.
-
Step 9
Place cardstock frame over exposed foam adhesive. Finish decorating the tag as you like.
-
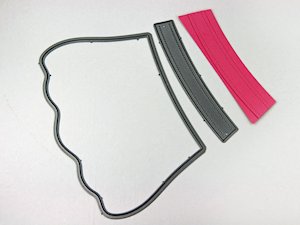
Step 10 (Optional)
To add a base for a snow globe tag, you can be creative with dies you already have. This is a dress die trimmed to look like a snow globe base.
-
Step 11
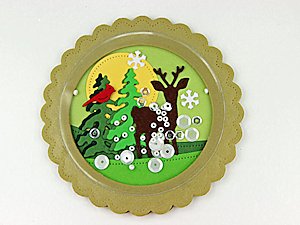
Complete the project.
Video!
Your Turn
You've seen the tutorial, now you try it! We've got a section of the gallery set aside for Die Cut Shaker. Try this technique, then upload your artwork to the gallery. Show us your creations!
***Please note - Internet Explorer/Edge is not a supported browser, and will not allow you to see the videos. Please use Chrome, Firefox or Safari to view our tutorial videos.

 *
*
Questions and Comments
We'd love to get your feedback or questions. Leave your comment below.
Kathy
Page 1 of 1 pages