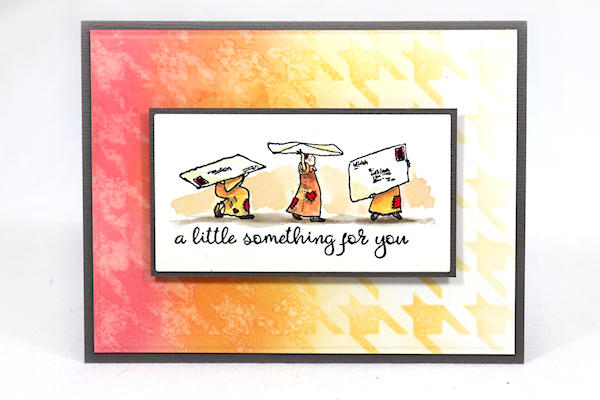
Faded Water Stenciling
by Dina Kowal
Create a double fade with ink, water and stencils.
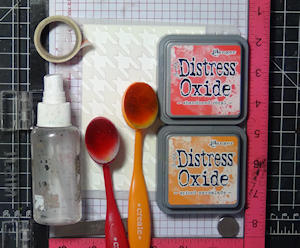
Supplies
- Watercolor paper (Fabriano Studio 140# Hot Press paper used here)
- Washi tape
- Water-reactive ink in 2 colors (Distress Oxide inks used here)
- Blending tools (Taylored Expressions Blender Brushes used here)
- Stencil (A Colorful Life Designs 020227 Houndstooth used here)
- Water mister
- Paper towel
- Other supplies as needed to complete the project (used here: Tonic cardstock, York's Little Art Studio - Little Ladies Mail Art wood mounted stamp, Impression Obsession B13615 A Little Something cling stamp, Zig Clean Color Brush Markers, QoR Watercolors, Sakura glaze pen)
Step-by-Step
-
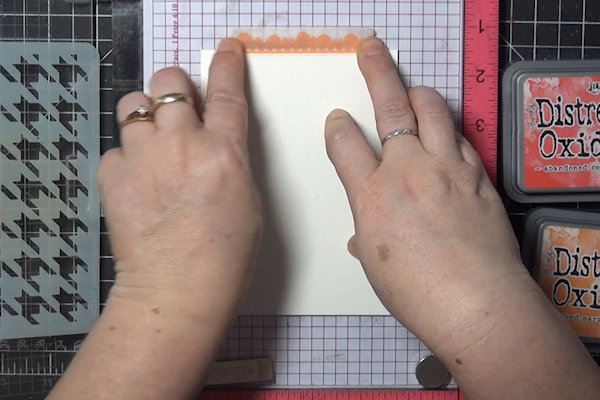
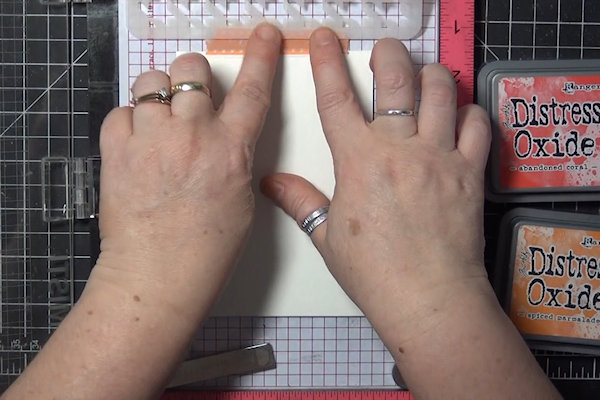
Step 1
Secure a watercolor card panel to your work surface using washi tape or painter’s tape. Tape only at the edge, to allow maximum area for ink blending.
-
Step 2
Position a stencil over the panel. Tape the stencil along one edge so that the tape can act as a hinge.
-
Flip the stencil out of the way for now.
-
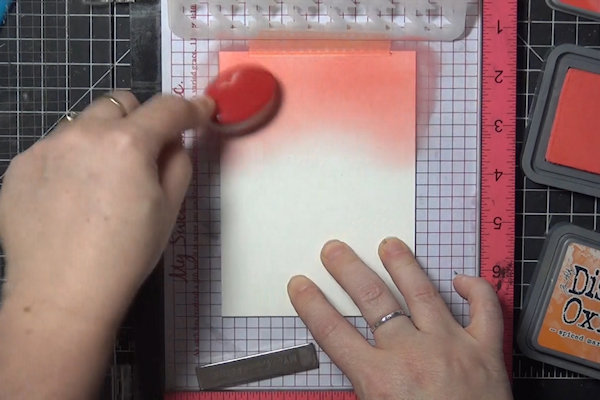
Step 3
Using a water-reactive ink, blend the first color from the top edge to about one third of the way down.
-
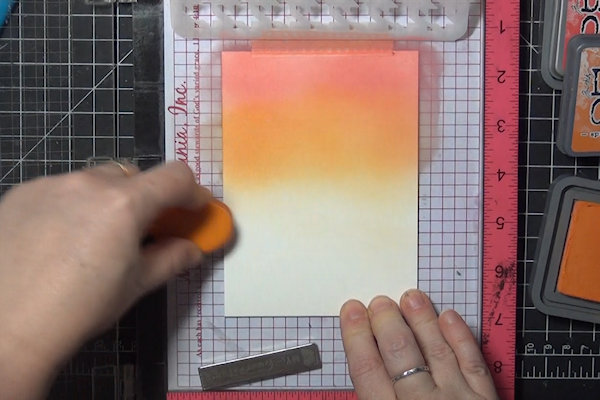
Step 4
Blend the second color into the first color and continue covering, down to about the middle of the panel. Blend out a little more color lightly.
-
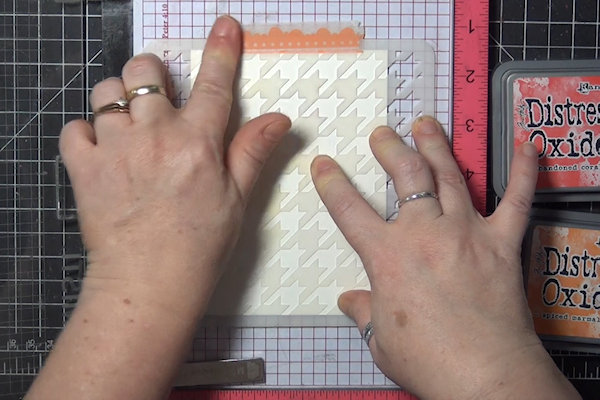
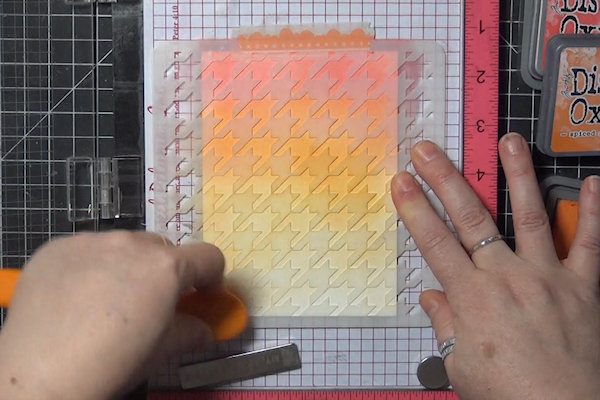
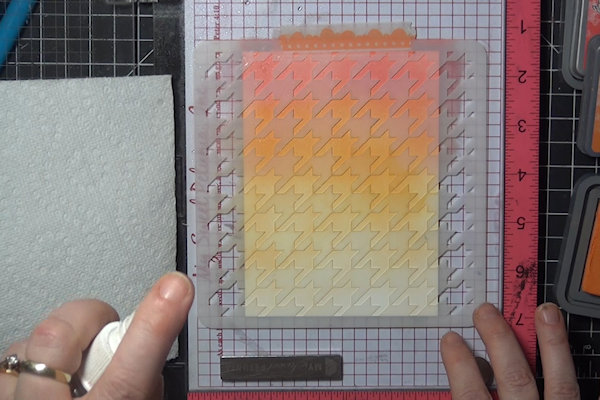
Step 5
Flip the stencil down onto the panel. Lightly blend the same ink over the blended area and down toward the bottom of the panel.
-
This is how the panel should look at this point, with the stenciling emerging from the second band of ink blending.
-
Step 6
Lightly mist the top half of the card with water through the stencil. Be careful not to spray too much, or the water will seep under the stencil.
-
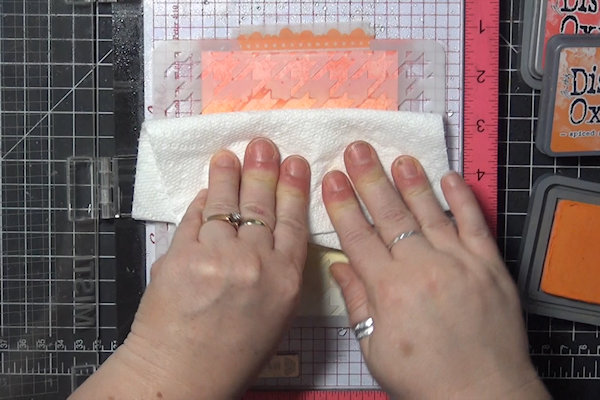
Step 7
With the stencil still in place, blot the water in the stencil openings. The water should reactivate the ink through the stencil openings, and it will lift away, leaving a negative pattern in the inked area.
-
Step 8
Lift the stencil and blot any excess water that may have seeped underneath the stencil.
-
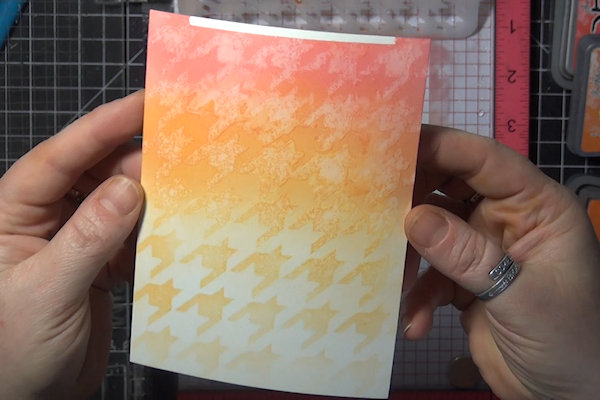
Allow the panel to dry completely to enjoy the effect of the background ink fading from dark to light and the stenciling fading from light to dark!
-
Step 9
Use the panel to complete a card or other project.


Video!
Your Turn
You've seen the tutorial, now you try it! We've got a section of the gallery set aside for Faded Water Stenciling. Try this technique, then upload your artwork to the gallery. Show us your creations!
***Please note - Internet Explorer/Edge is not a supported browser, and will not allow you to see the videos. Please use Chrome, Firefox or Safari to view our tutorial videos.

Questions and Comments
We'd love to get your feedback or questions. Leave your comment below.
Page 1 of 1 pages