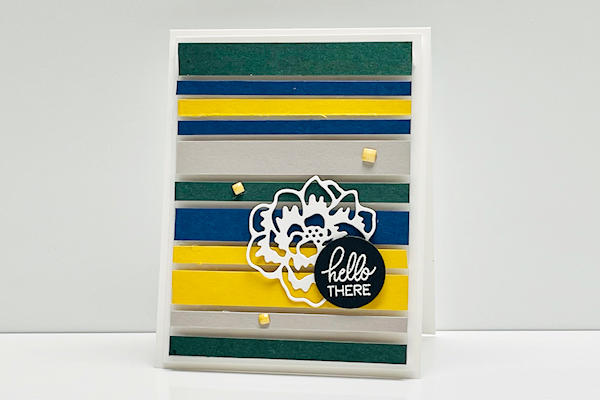
Floating Strips
by Melissa Stout
Use acetate to float strips of cardstock over your card front.
Supplies
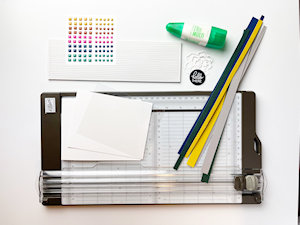
- Cardstock
- Window Sheets or acetate
- Paper trimmer
- Adhesive (Tombow Mono Liquid Glue used here)
- Foam adhesive strips or Dimensionals
- Scissors
- Other supplies as needed to complete the project (die cut from Stampin’ Up! Iconic Dies, greeting from Peekaboo Farm stamp set, embellished with 2020-2022 In Color Square Gems)
Step-by-Step
-
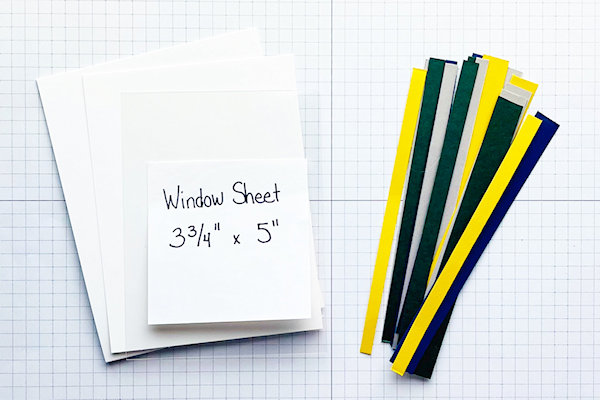
Step 1
Cut white cardstock to 4 1/4" x 11". Score at 5 1/2” for card base.
Cut another piece to 4” x 5 1/4” for the card layer.
Cut an acetate sheet to 3 3/4” x 5”.
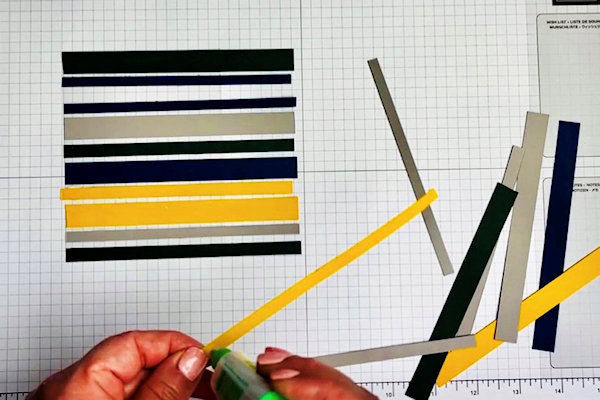
Cut a variety of cardstock strips to any width. For the sample, strips are cut 1/4” - 1/2” by 5 1/2”. -
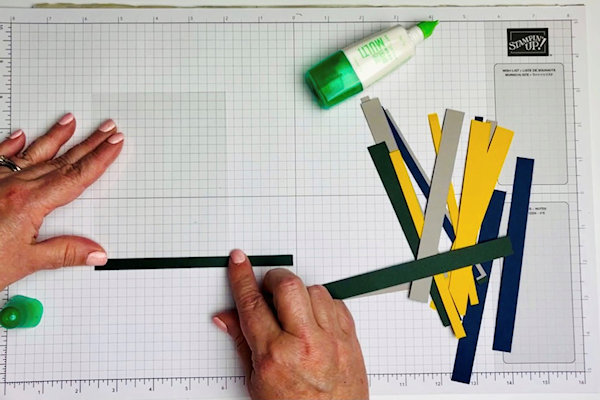
Step 2
Starting at the bottom of the acetate sheet, begin adhering cardstock strips with liquid glue.
-
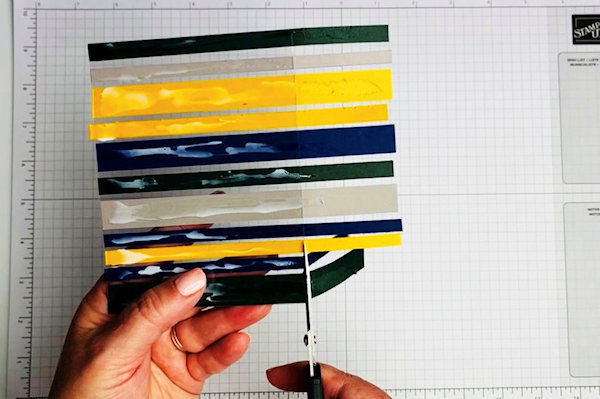
Continue adding strips of cardstock to the acetate sheet, leaving space between the strips, until you reach the top.
-
Step 3
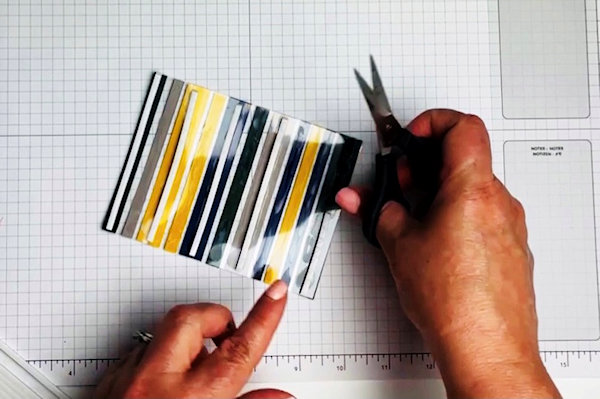
Allow the glue to dry, then turn the acetate over and trim off any excess cardstock with scissors.
-
Step 4
Apply foam adhesive strips to the back of the acetate, using the cardstock strips on the front to hide the adhesive.
-
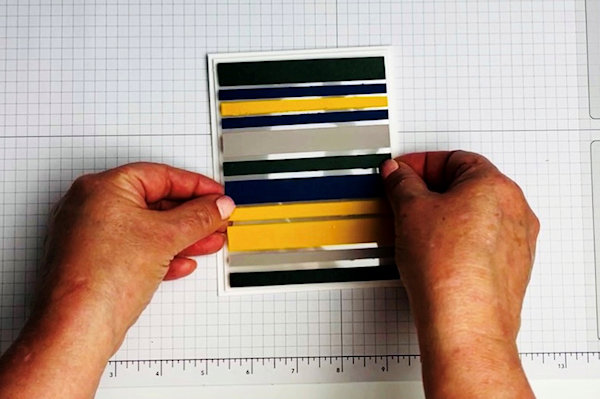
Step 5
Peel off the backing and adhere the acetate sheet to the white card layer and base.
-
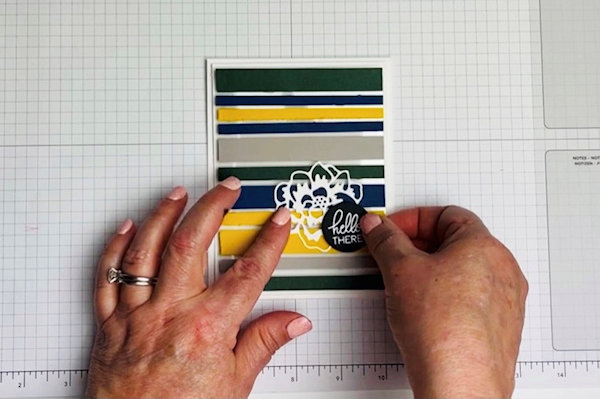
Step 6
Embellish the card front as desired.
-
Step 7
Complete the project.
Video!
Your Turn
You've seen the tutorial, now you try it! We've got a section of the gallery set aside for Floating Strips. Try this technique, then upload your artwork to the gallery. Show us your creations!
***Please note - Internet Explorer/Edge is not a supported browser, and will not allow you to see the videos. Please use Chrome, Firefox or Safari to view our tutorial videos.

Questions and Comments
We'd love to get your feedback or questions. Leave your comment below.
Page 1 of 1 pages