Precision Foiling With Glue
by Lydia Fiedler
Use the Precision Glue Press for unique dimensional foiled accents on your cards.

300.jpg)
Step-by-Step
-
Step 1
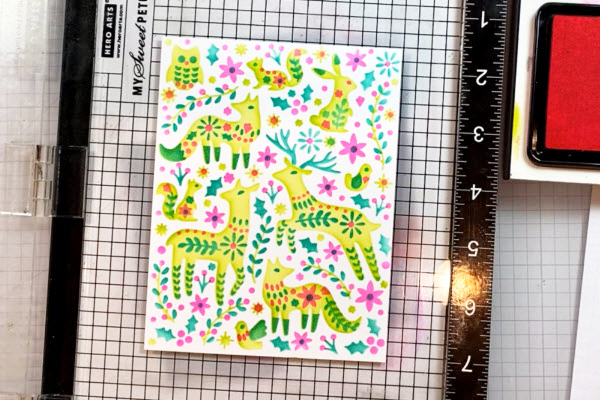
Using a stamp or stencil image with intricate details, like dots, create a card front with the image.
-
Step 2
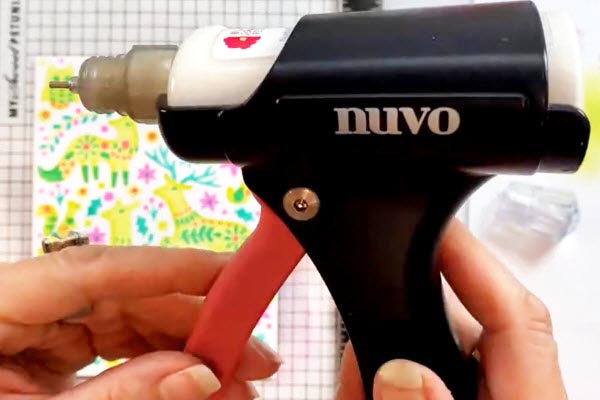
Load a bottle with 2-Way Glue into the Precision Glue Press. Choose the nozzle that fits the intricacy of your design - here, the larger nozzle is used.
-
Step 3
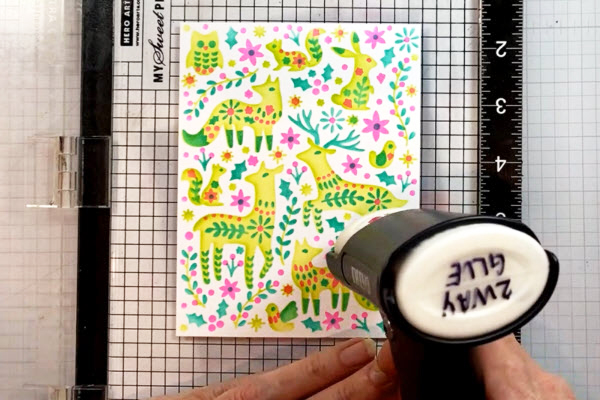
Apply dots or stripes of glue, following your design, wherever you want there to be a foil accent.
-
Step 4
The more dimensional your accents, the more dimensional your foiled elements will be. Allow the glue to completely dry - it should be clear when dry. The thicker your dots, the longer this will take.
-
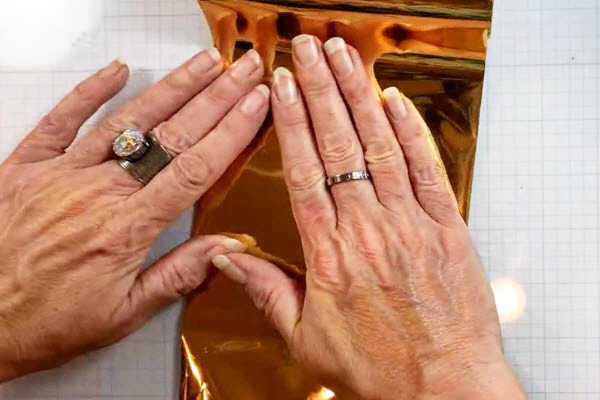
Step 5
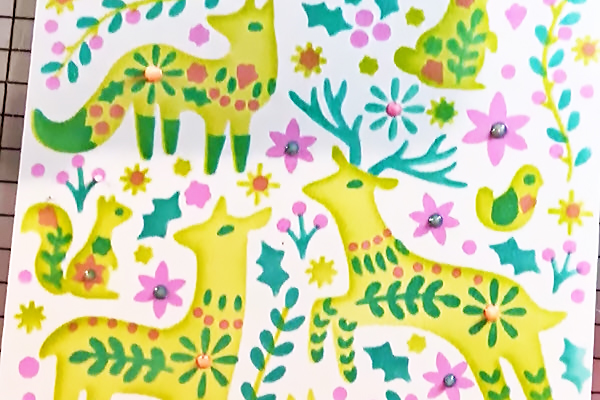
Apply a sheet of foil, foil side up, to the dry but tacky dots of glue and burnish.
-
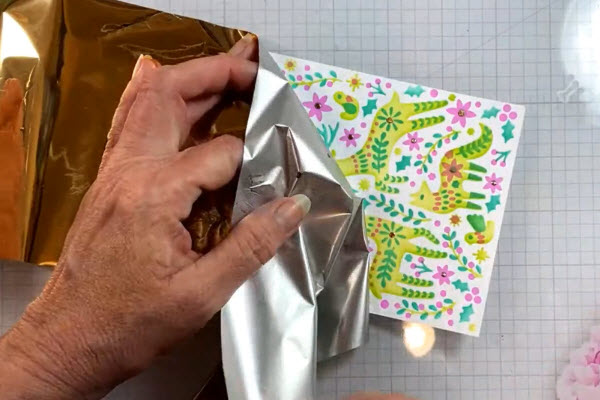
Step 6
Gently remove the foil, checking the dots and burnishing more if needed.
-
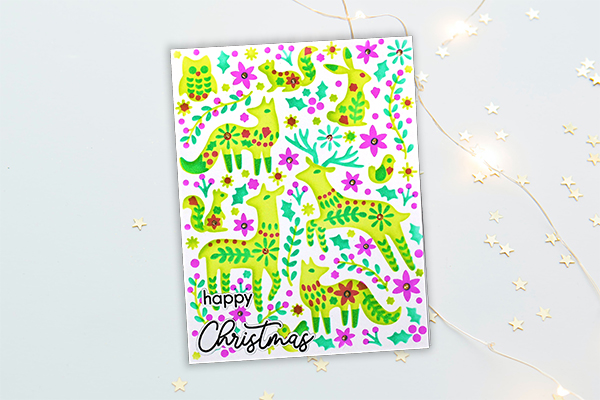
Step 7
Finish the card.
Video!
Your Turn
You've seen the tutorial, now you try it! We've got a section of the gallery set aside for Precision Foiling With Glue. Try this technique, then upload your artwork to the gallery. Show us your creations!
***Please note - Internet Explorer/Edge is not a supported browser, and will not allow you to see the videos. Please use Chrome, Firefox or Safari to view our tutorial videos.

Questions and Comments
We'd love to get your feedback or questions. Leave your comment below.
Page 1 of 1 pages